

"Hmm, it tastes like soap mixed with sulphur... do you think it's safe to drink?"
I think it is safe to say that my first attempt at making hard cider was not working out according to plan. I had been reading all about wild fermentation and, slowly, I began to develop romantic notions of harvesting wild yeast from apple skins and brewing up a batch of wild cider. It turns out that fermentation is incredibly easy. It’s nature’s default. Flavor, on the other hand, is another matter altogether. Fermenting something that tastes good takes care and patience and, unknowingly, I had picked the most difficult method of achieving a pleasing result.
All yeast is not the same. If it was, you could just tear open a package of Fleischmann's, pour it into some juice, and you would be off to the races. There are actually something like 1500 species of yeast that have been discovered. This is the problem you run into when you try to harvest wild yeast. Who knows what you will end up with. Because yeasts can have wildly different characteristics, so might your finished product.
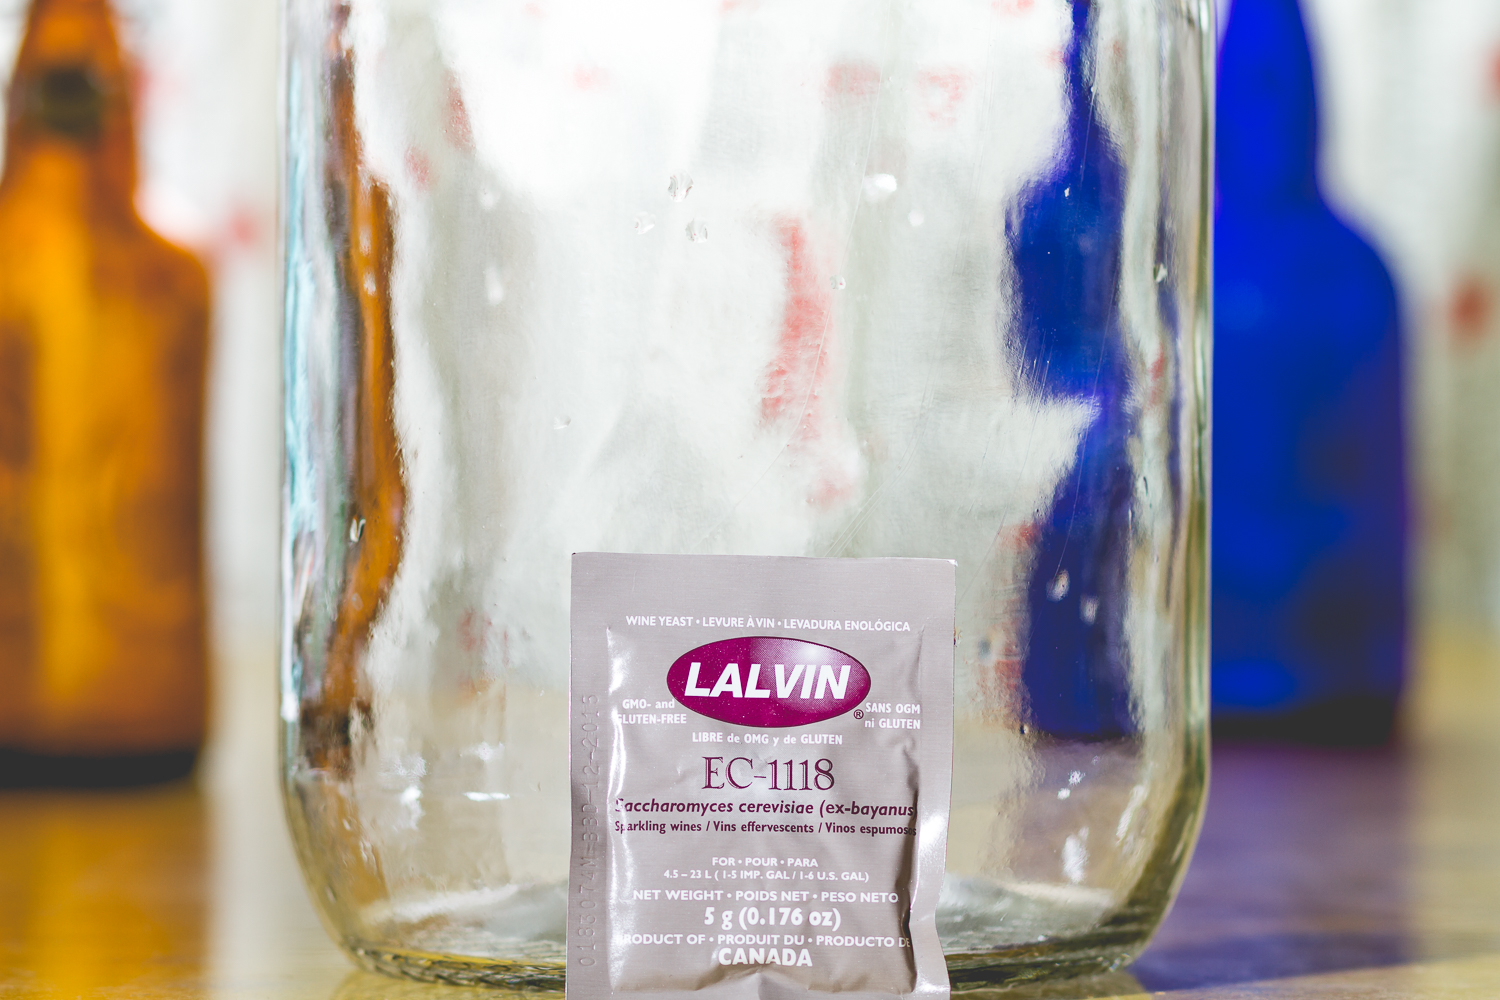
It is my understanding that the real masters of cider making are those that have learned how to cultivate the tastier wild yeasts. When it comes to homebrewing, I am very much an enthusiastic amateur. So, for batch number two, I set my sights on a more achievable goal. Forgoing wild yeast for champagne yeast, I made a carbonated cider with the kick of a higher alcohol content. It turns out that with the right tools and some attention to detail, a good batch of cider is not that hard to make. Let’s get started.


Equipment & Ingredients
Ensuring that your juice is preservative free is probably the single most important thing to remember when you are gearing up to make hard cider. If your juice has preservatives the yeast will not be able to survive in it long enough to ferment the sugar.
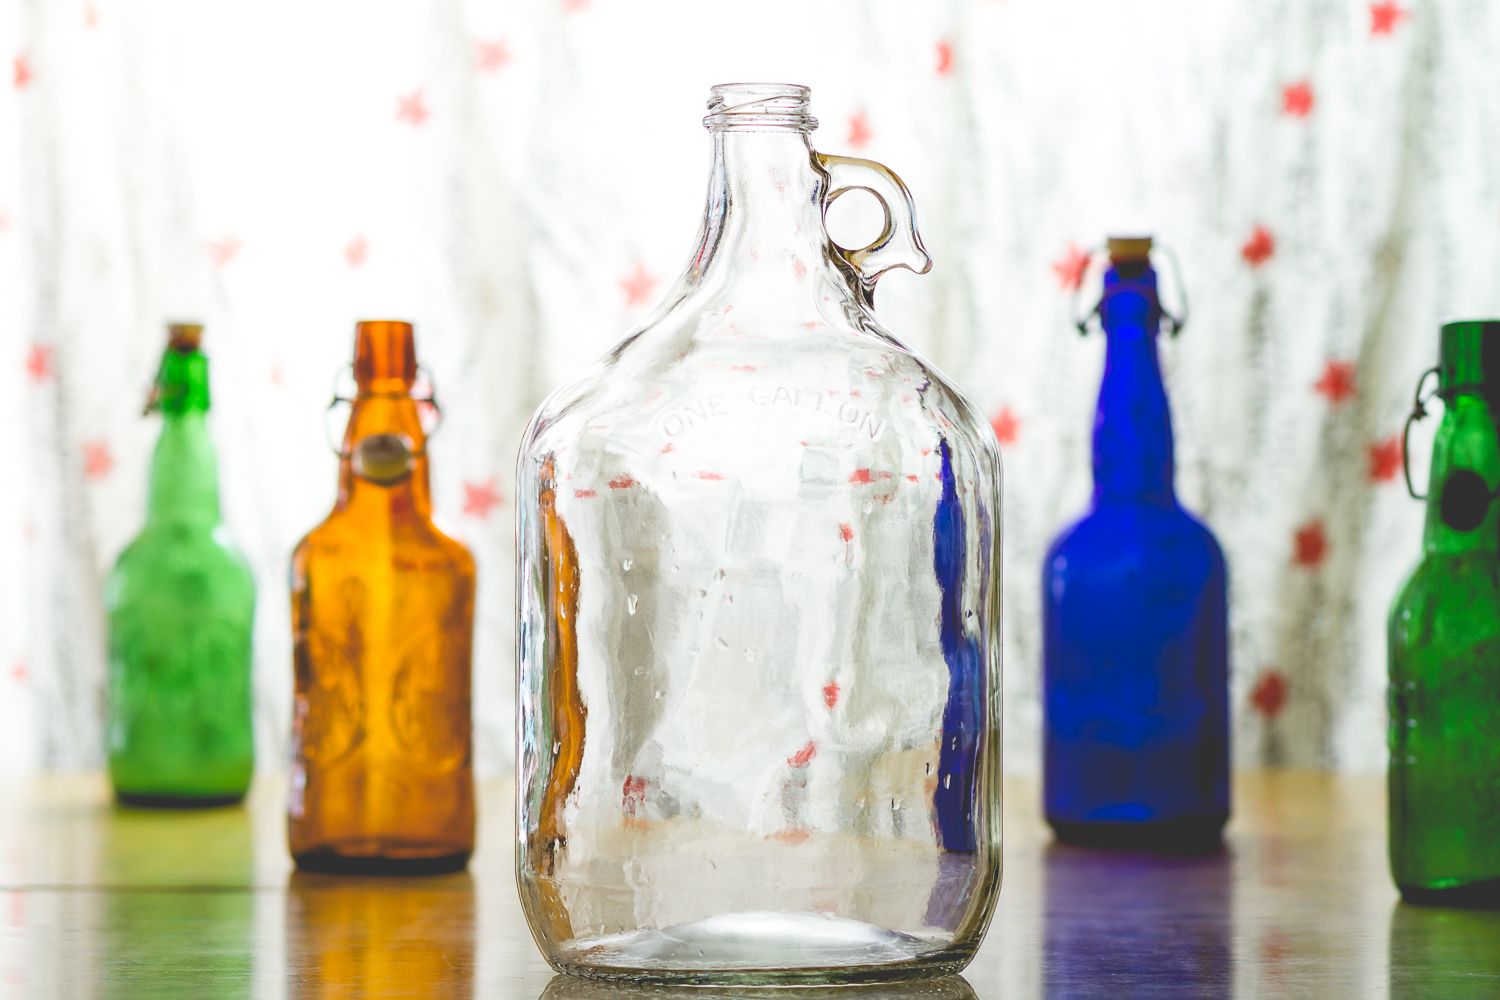
1. 2 one gallon carboys and enough bail top bottles for one gallon of cider.
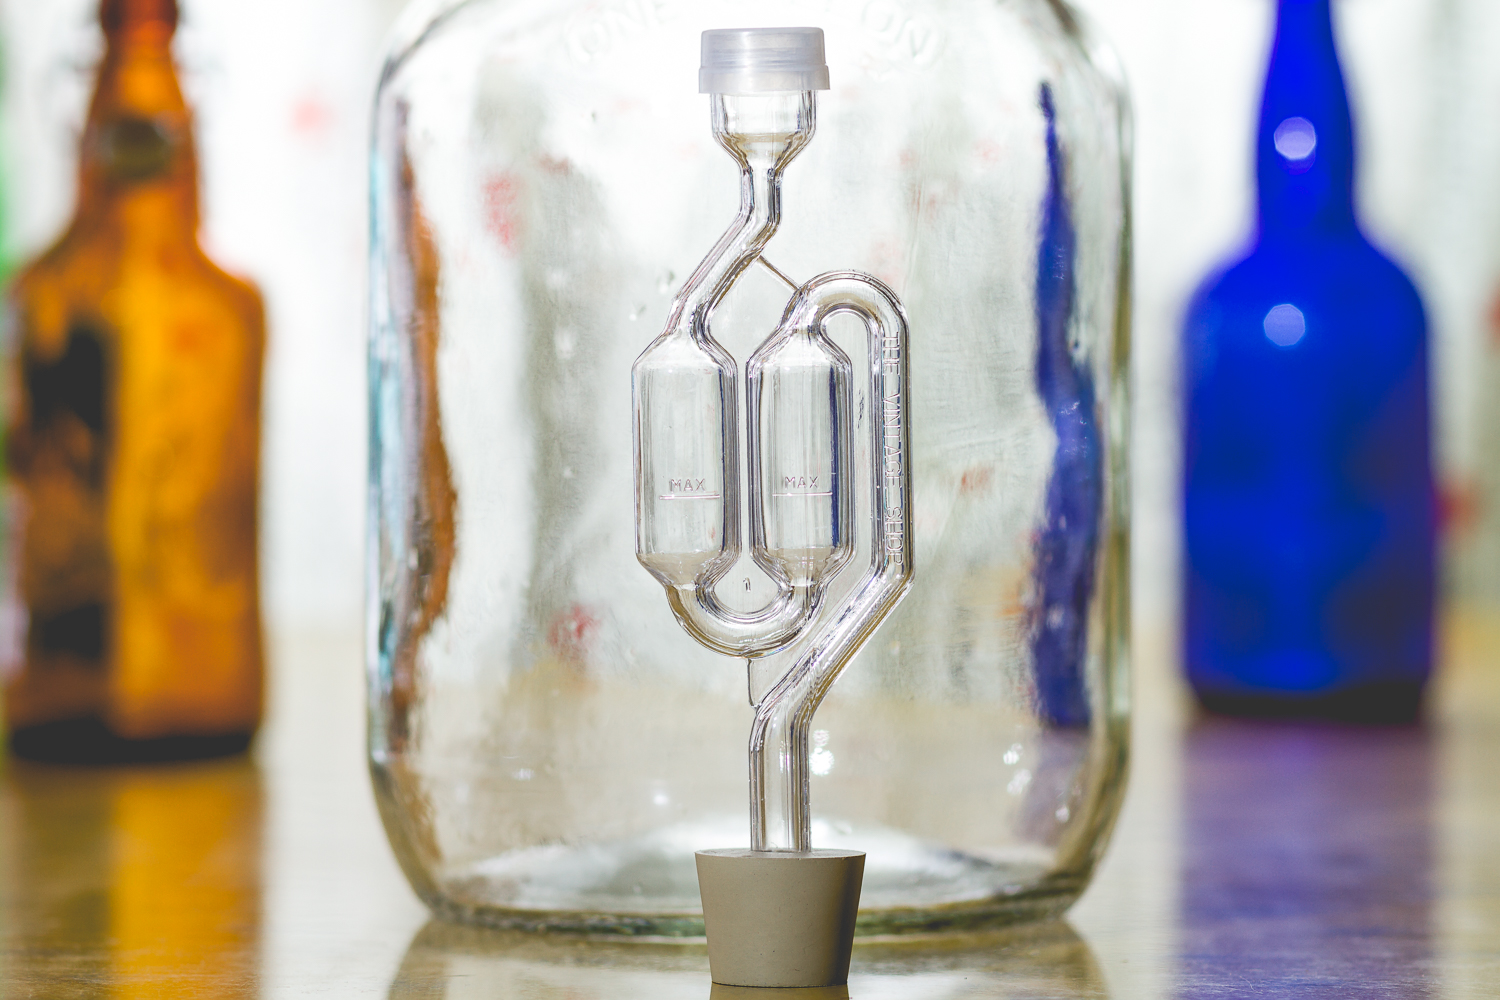
2. Airlock
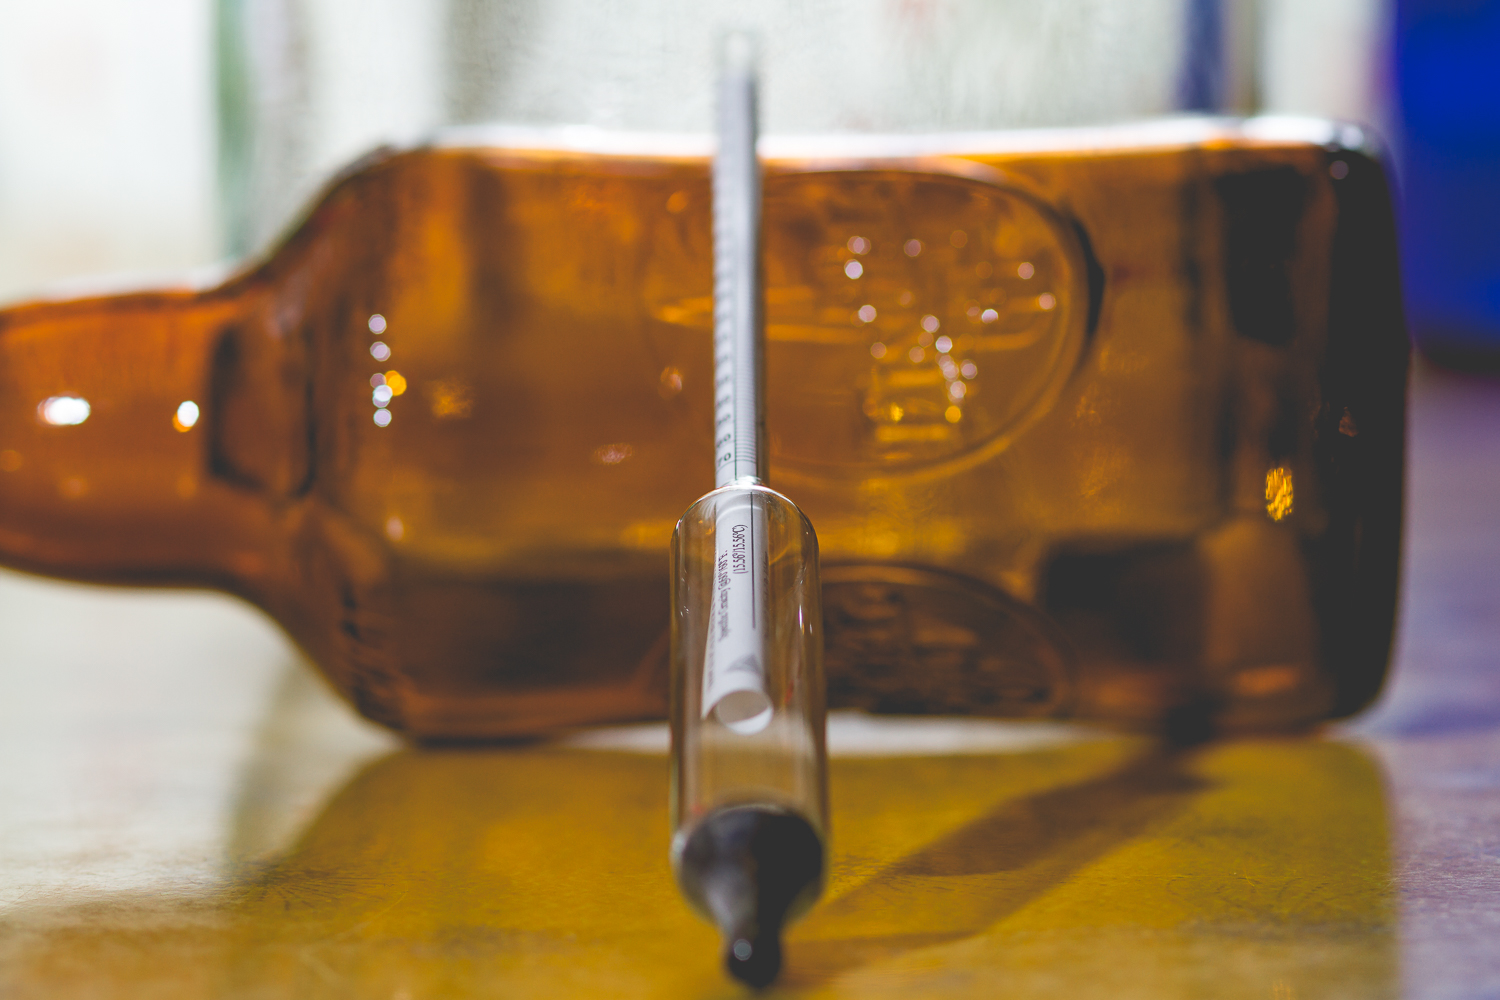
3. Hydrometer (Save the plastic tube it is packaged in)
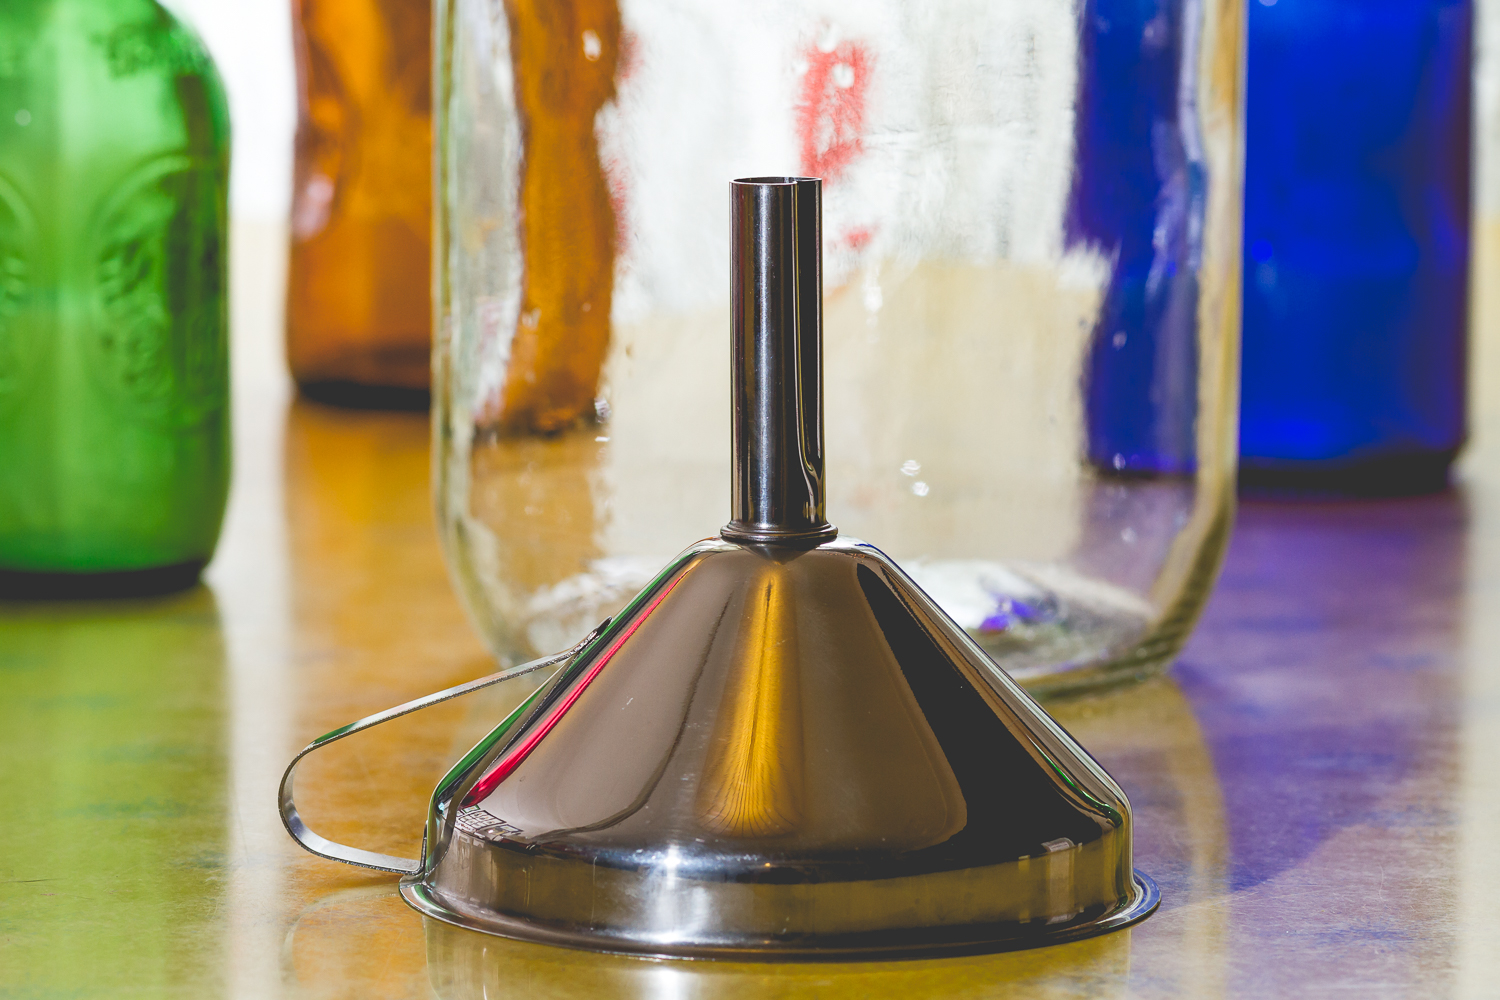
4. Funnel
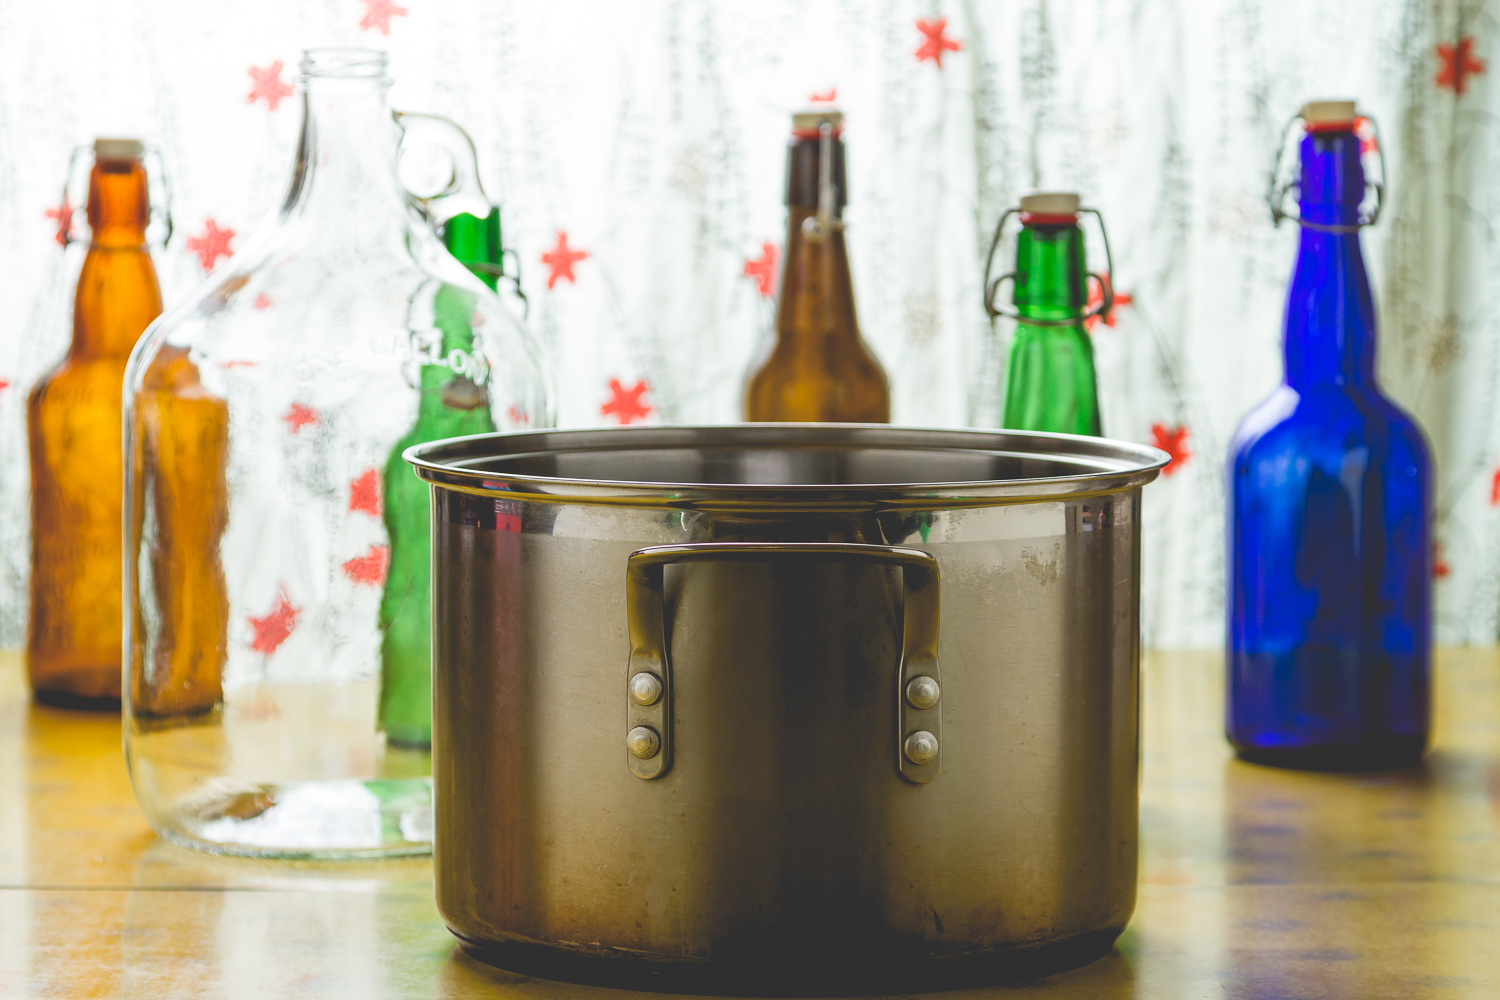
5. Large enough pot to fit one gallon of juice.
6. Auto Siphon and 5 feet of siphon hose
7. Large deep pan to hold cleaning solution
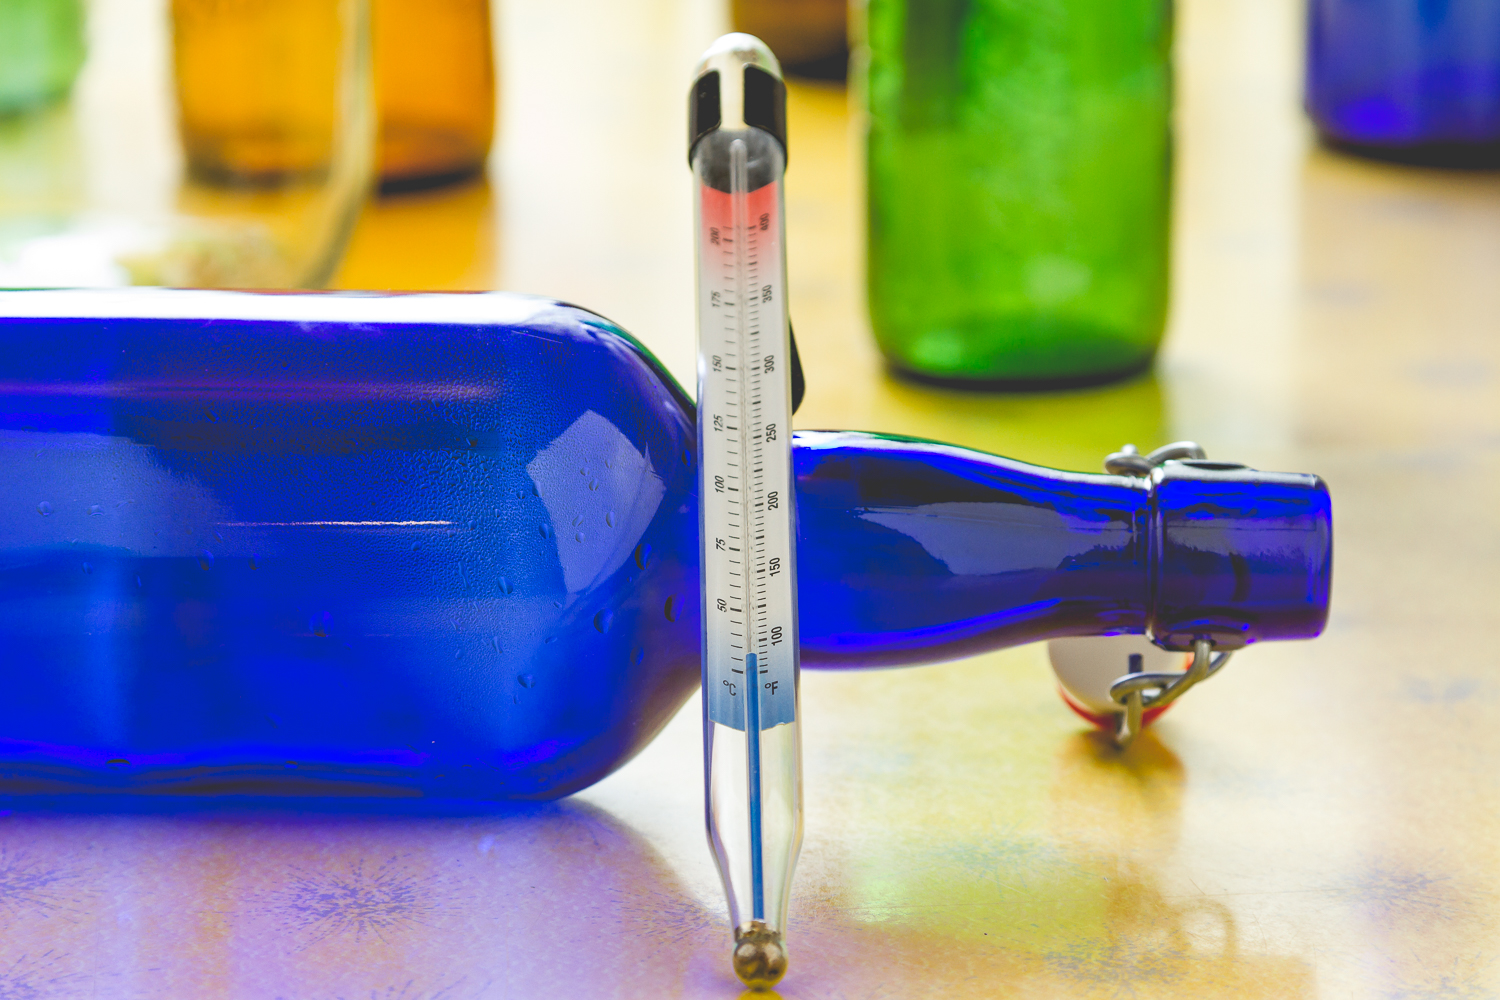
8. Thermometer*
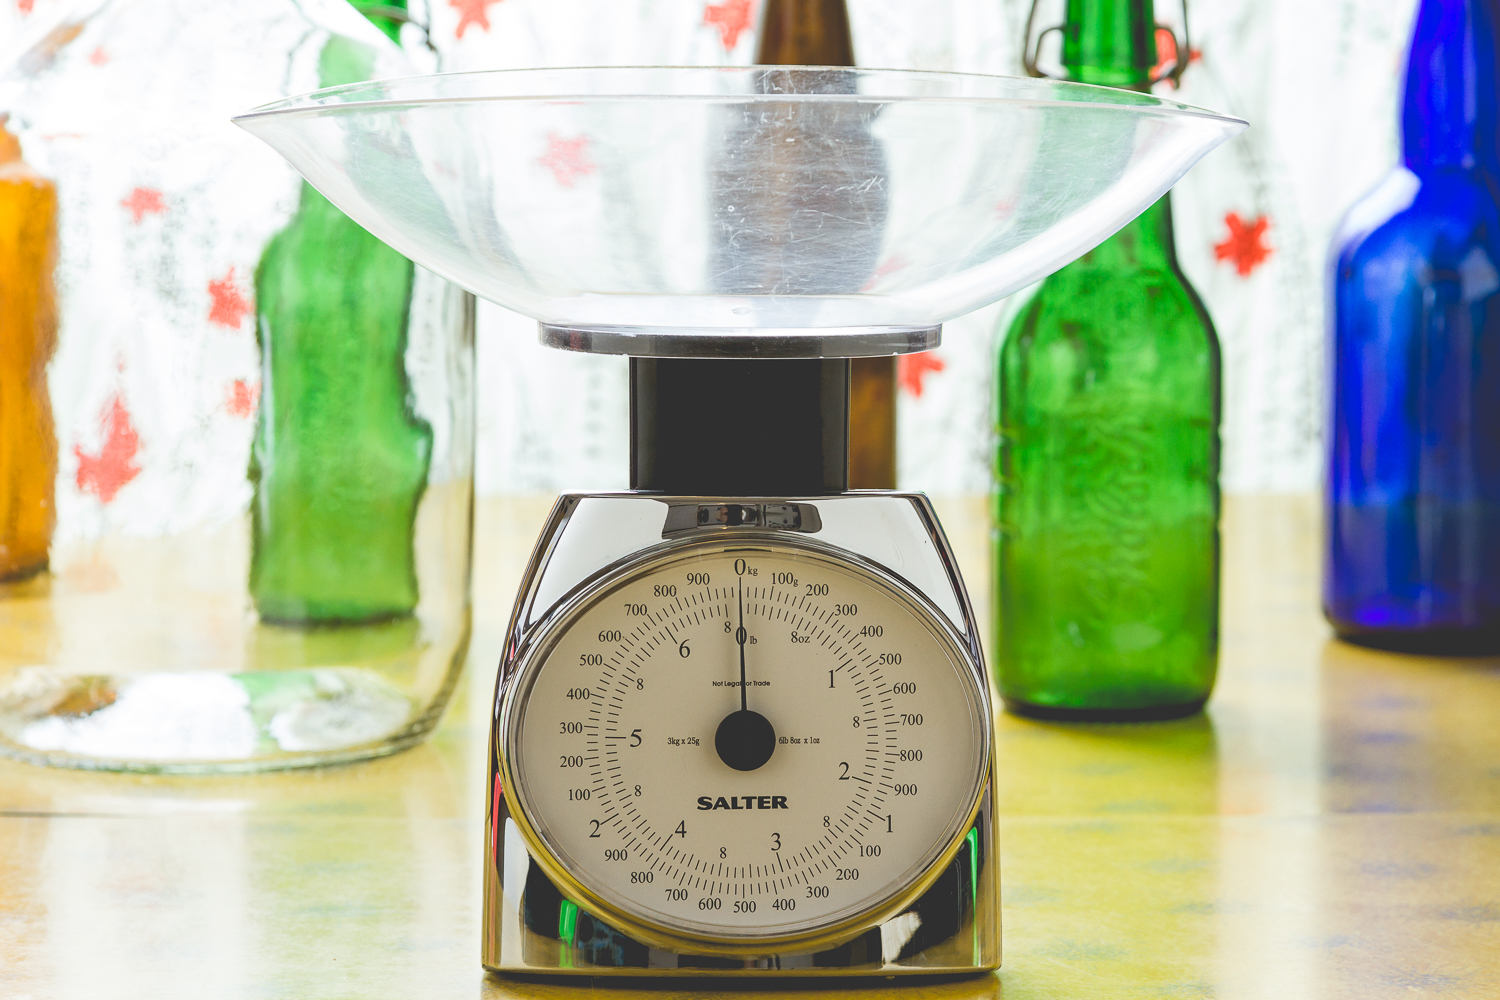
9. Scale**
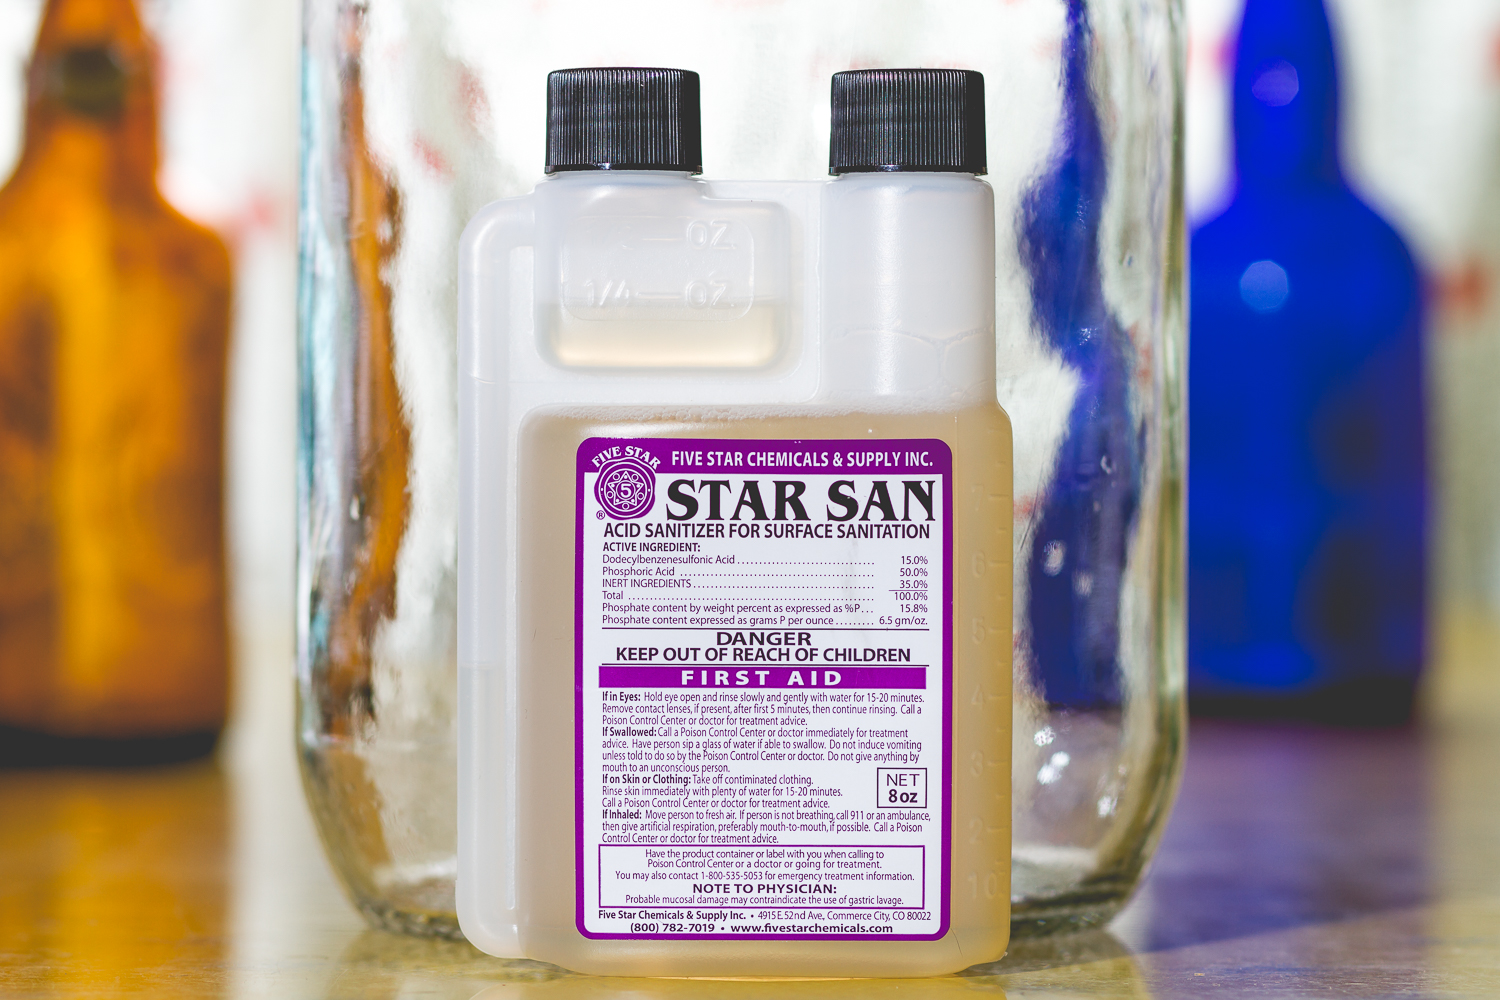
10. Star San
11. Champagne yeast
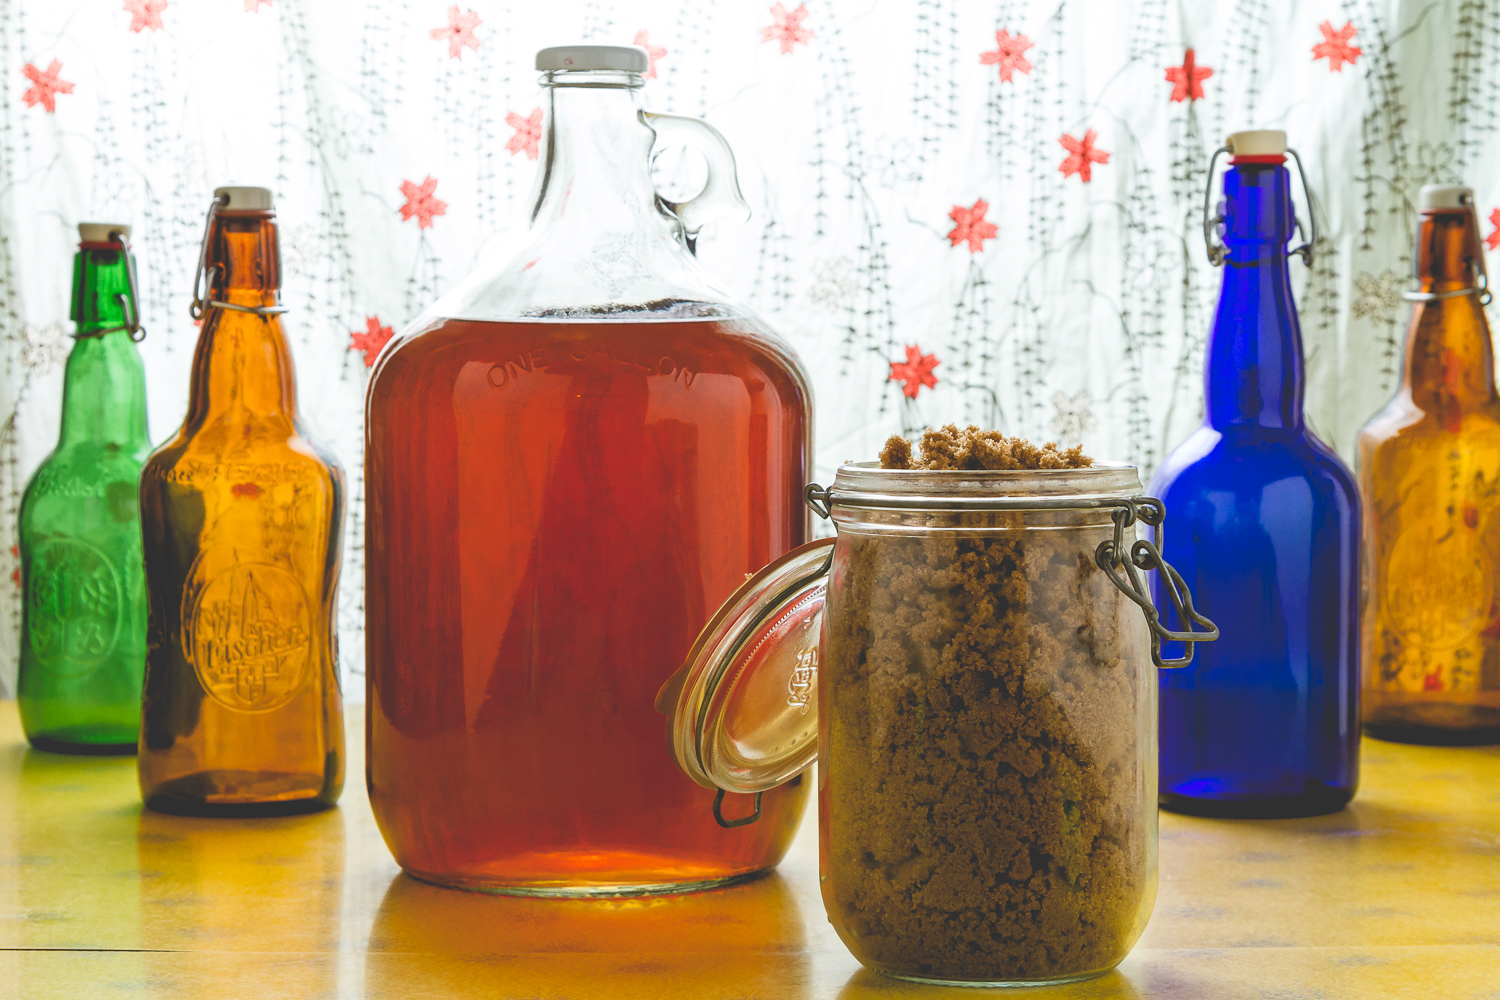
12. 1 gallon of apple juice & 1/2-1 pound of brown sugar
*We used a candy thermometer that we had laying around. If you are buying a thermometer go ahead and get a proper one from a homebrew supplier.
**Since these photographs were taken we purchased a digital scale and can't recommend it enough.
Instructions
It’s important to note that there is a huge variety of ways to make hard cider. The one thing that all methods have in common is that the juice you start with must be preservative free. Preservatives will kill the yeast before they have an opportunity to eat the sugar, leaving you with a gallon of apple juice that is too sweet to drink. These instructions will yield you roughly a gallon of cider. I chose to buy my juice at the store because it came in a gallon sized glass carboy, so I was able to get my juice and fermenting vessel in one shot.
Clean Up
The first thing you need to do is get everything sterilized. It would be a shame to spend all of this time caring for your cider only to have it all spoiled by an unwanted strain of yeast or bacteria. First, clean all of your tools in soapy water. Next, mix up a batch of water and Star San. After you have rinsed off all the soapy water, sterilize all of your freshly scrubbed tools in the Star San solution.
Wake Up Your Yeast
Now you need to jump start your sleepy yeast. You could simply pour your yeast directly into the juice, but there is a small chance that your yeast is dead, and you could wind up wasting a lot of time waiting for it to come to life. It is much better to make a starter. The simplest thing to do is pour all but four or five ounces of your juice into the sterilized pot. Cover the pot and set it aside. Now pour 1 gram of yeast into the juice you left in the carboy. If you purchased unpasteurized juice, you will need to pasteurize it before adding the yeast. Swirl it around to mix, cap it, and that’s your starter. The yeast will wake up and begin to eat the sugar in the juice. It should be bubbling nicely within 5-6 hours.

Break Out The Hydrometer
I have always liked tools. Tools expand the potential of the user. The Hydrometer is one of the cooler tools used in brewing. It looks a bit intimidating, but don’t let that give you pause. It’s really quite simple. It is used to determine the specific gravity of a liquid, which for our purposes, means measuring how much sugar is in our juice. To do this, pour juice into the sterilized, clear, plastic tube that the hydrometer came packaged in. Fill it about 3/4 of the way full, and gently submerge the hydrometer into the tube. The hydrometer has a number of scales, but this time we are only interested in the percentage scale. It will probably settle around the 6% mark. That means your juice, once fully fermented, has the potential to make a cider with 6% alcohol content. This number may fluctuate slightly. The important thing is to know what you are starting with. We are trying to make a cider with 10% alcohol content, so we will need to add additional sugar. In brewing, there are many rabbit holes to go down, and this is one of them. You can use granulated cane sugar, honey, maple syrup, and on and on. I settled on brown sugar, because I had a feeling I would like the addition of molasses. Next time, I’ll probably try something different. Experimentation is one of the most enjoyable parts of all craft.
So how do you determine how much sugar you need? Well, that's where things can begin to get a little complicated. Different sweeteners all have different specific gravities when dissolved into the same amount of liquid. Armed with that knowledge and your hydrometer reading, it is possible to calculate how much sugar you need to add in order to reach your goal. I'm not going to go deep into that here because, to be perfectly honest, you don’t need to understand it to make this batch of cider. If popping the top on that first batch of tasty cider gives you as much pleasure as it did me, I’m sure you’ll find you suddenly have the desire to learn all the ins and outs of brewing. Let’s keep it simple for this batch. To reach that 10% mark, we are going to need somewhere between 1/2 - 1 pound of brown sugar.
Sterilize Your Sugar
Who knows what kind of bacteria and yeast are living in that package of brown sugar you brought home from the store. In order to safely use it for fermentation, you will need to sterilize it. Begin heating the juice that you poured into the pot over low heat. Place your thermometer in the juice and keep a close eye on it. You don’t want it to go above 160 degrees, or it can begin to get cloudy. When your juice is beginning to get warm, weigh out a quarter pound of brown sugar and dissolve it into the juice. Take a hydrometer reading and see where you’re at. Keep adding more sugar and testing the juice until your hydrometer reads 10%. Add the sugar in reasonable amounts so you don’t overshoot 10%. Simple!
Continue heating the juice on low to medium heat until it reaches 160 degrees. To pasteurize, make sure to keep your juice and sugar mixture at 160 degrees for ten minutes, then turn off the heat. Now that any undesirable yeast or bacteria has been eliminated from your juice, you just have to wait until the mixture cools to 70 degrees before adding it to your yeast starter. You can partially submerge the pot in ice water to speed up this process.

Let Nature Do Its Work
Use a sterilized funnel to transfer the juice into the carboy with the yeast starter. Fill your airlock with the Star San solution, and place it on the carboy. Now you just have to wait. The cider should bubble away steadily for two weeks. Keep it out of direct sunlight, in a place that maintains a steady, comfortable, room temperature. Sometimes the yeast can go a bit crazy during the first day or two and bubble up out of the airlock. This is called blow-off. While it is more common when brewing beer, I went ahead and stored my carboy in a box lined with a plastic bag anyway. Slowly, after about two weeks, the bubbling will subside. After your cider is fermented, it will be very cloudy. That is the yeast suspended in it. You need to let it rest for another week or two, to allow the yeast to slowly settle out of the cider.
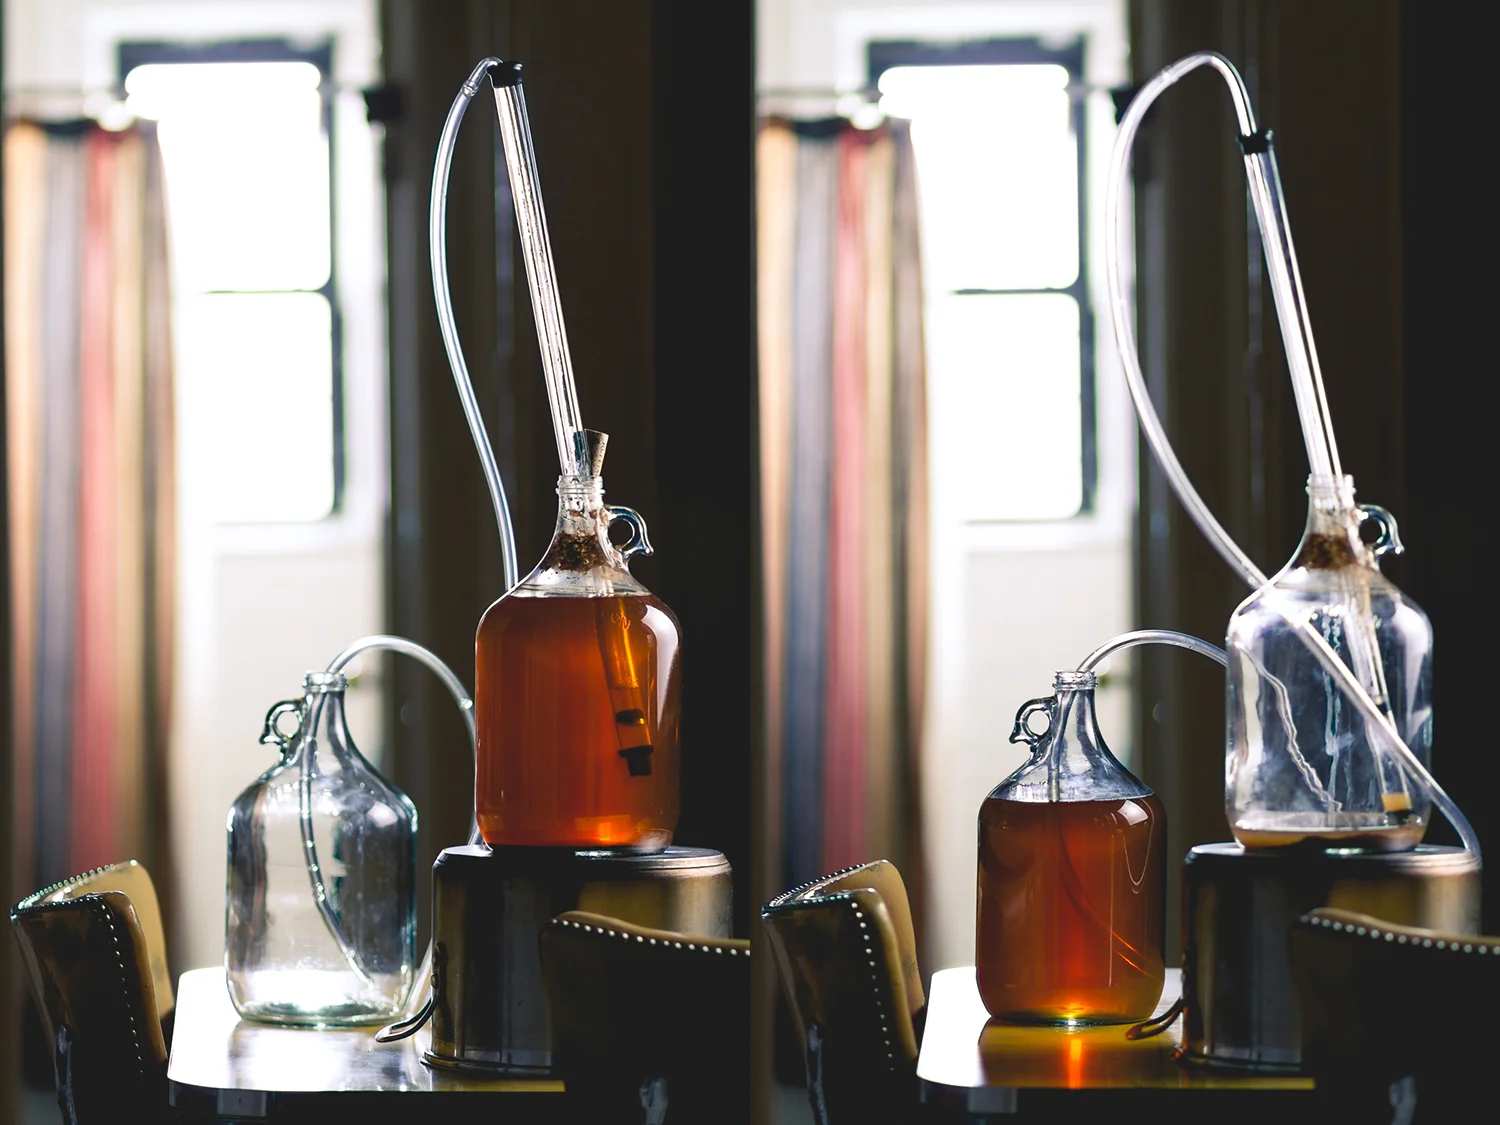
Secondary Fermentation
Don’t be hasty. Our cider is not done yet. We want to give it more time for the flavors to round out. If we leave it in the original carboy for this stage, it can begin to take on some of the less pleasant flavors from all of the detritus that has settled to the bottom during the primary fermentation. Now it’s time to use another cool brewing tool, the Auto Siphon. This is basically a long, flexible tube attached to a manual pump, which we will use to transfer the cider to a fresh carboy. There is a small siphon meant for one gallon carboys, but I went ahead and got the big one because I had a feeling I would be doing some bigger batches in the future. If you have to move your carboy in order to complete this step, you need to be very gentle with it. You waited two weeks for the yeast to settle, and you do not want to disturb it now. Lower the siphon into the cider, and keep it about an inch above the bottom to avoid sucking the sediment into the clean carboy. I stuck a wine cork, cut in a wedge shape, into the mouth of the carboy next to the Auto Siphon to ensure it didn’t drop down to the bottom. Put the tube into the clean carboy, and begin pumping the siphon. As soon as the cider begins to spill into the freshly sterilized carboy, you can stop pumping. Through some amazing law of physics, that I don’t fully understand, the cider will continue to fill the new carboy as long as the bottom of the pump stays submerged. As the old carboy begins to empty, you can gently tip it to get at more of the sediment-free cider. Leave the dregs in the bottom of the original carboy. After you have gotten as much of the sediment-free cider as you can, cap it with the airlock, and allow it to sit for another month. This will do a few things. It gives the yeast more time to eat any remaining sugar, as well as continue to settle out of the cider. The cider will most likely have kind of a hot, alcohol flavor at the end of primary fermentation. At the end of the second month, the cider will be much smoother. If you’re not in a rush, secondary fermentation can go on for a long time. I let mine go for close to three months before I couldn’t stand waiting any longer.
Carbonation
You could bottle it at this point and have a nice still, dry cider. I may give that a try in the future, but for some reason, I have always thought of cider as a carbonated drink. We are going to bottle condition our cider, which simply means carbonating it in the bottle. Mix together 30 grams (2 tablespoons) of granulated sugar and 50 grams (¼ cup) of water and bring to a boil in a saucepan. Let it cool to room temperature before adding it to your cider. Depending upon how long you left your cider in secondary fermentation, you may or may not have any residual living yeast in your cider. I was worried that all of my yeast had gone the way of the dinosaurs, so I added a small pinch of leftover dry yeast to my cider, to ensure I would get the carbonation I was after. It was probably an unnecessary precaution, and I may not do it with my next batch. If you decide to add additional yeast, make sure you give it around 8 hours to fully incorporate into the cider. Now siphon out the cider into your sterilized bottles, seal them up, and store them in your fermentation nook for another two weeks.


Time For A Refreshment
Mark you calendar and count down the days. Chill in the refrigerator and enjoy! My cider had a very light effervescent quality, more akin to a nice champagne than the harsh sharpness of a carbonated soda. In many ways, the flavor reminded me of a very smooth chardonnay, but with a very light appley finish. It’s a great summer drink and would be tasty with all the foods commonly paired with white wines or lighter beers. I am already looking forward to my next batch. I have a line on some local, fresh pressed apple juice that should make a great cider. Next time, I think I will try out an ale yeast and sweeten it with honey.
If you have any questions, you can always reach us on Twitter or Facebook. We would love to see photos of your cider making endeavor. Share them with us on Instagram. You can find us at @filterandfunnel. Happy brewing!
All Things Apples

Go on a Fall adventure.

We made a map of orchards near NYC.

French comfort food with an American twist.